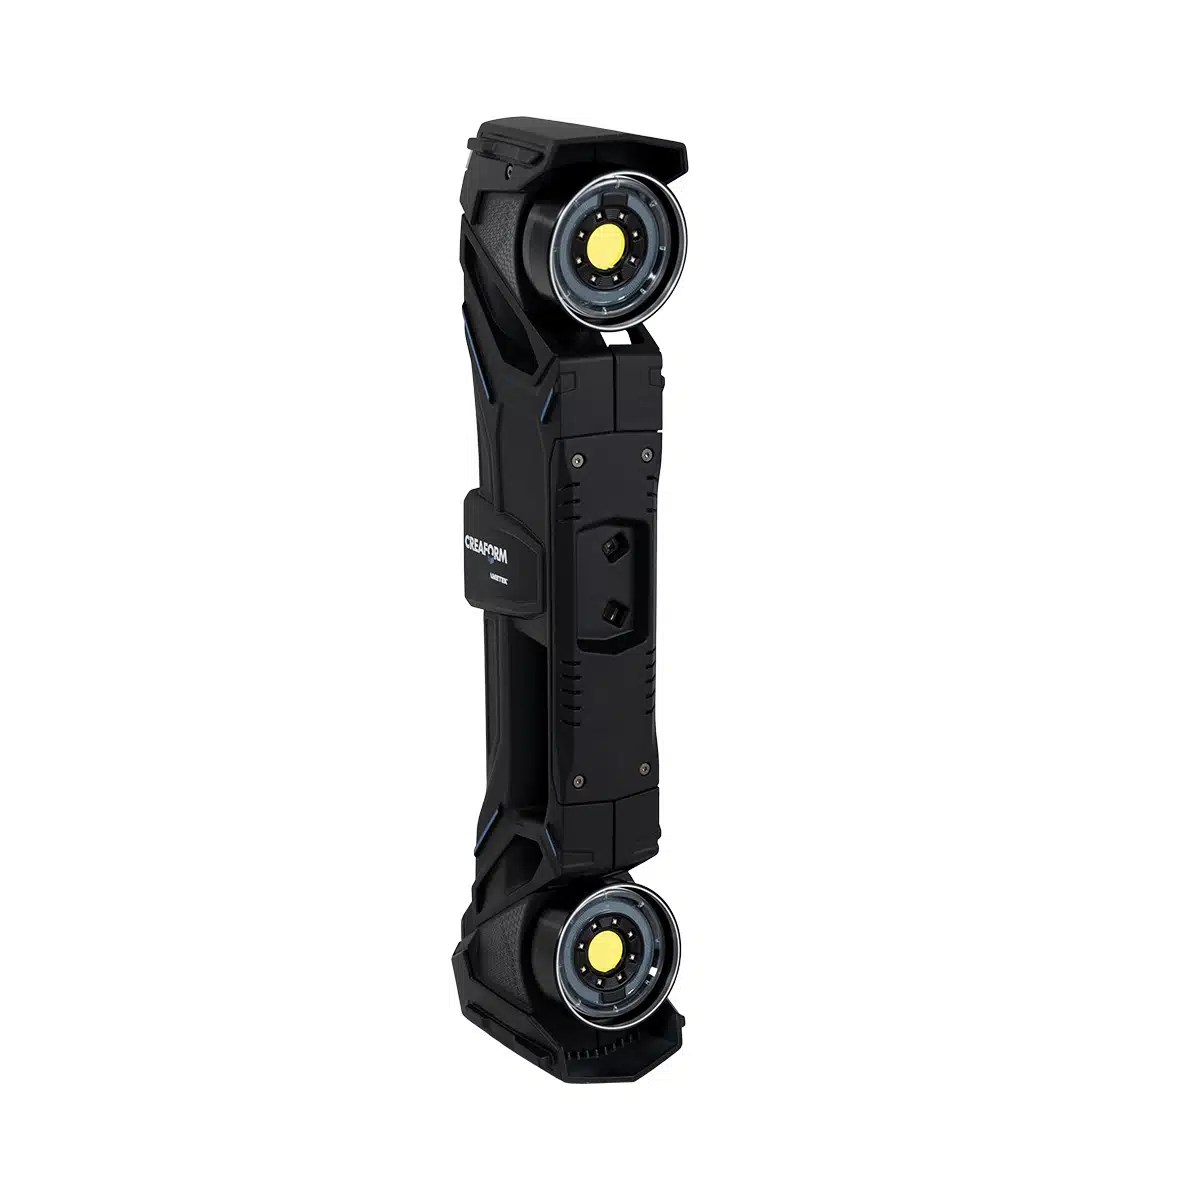
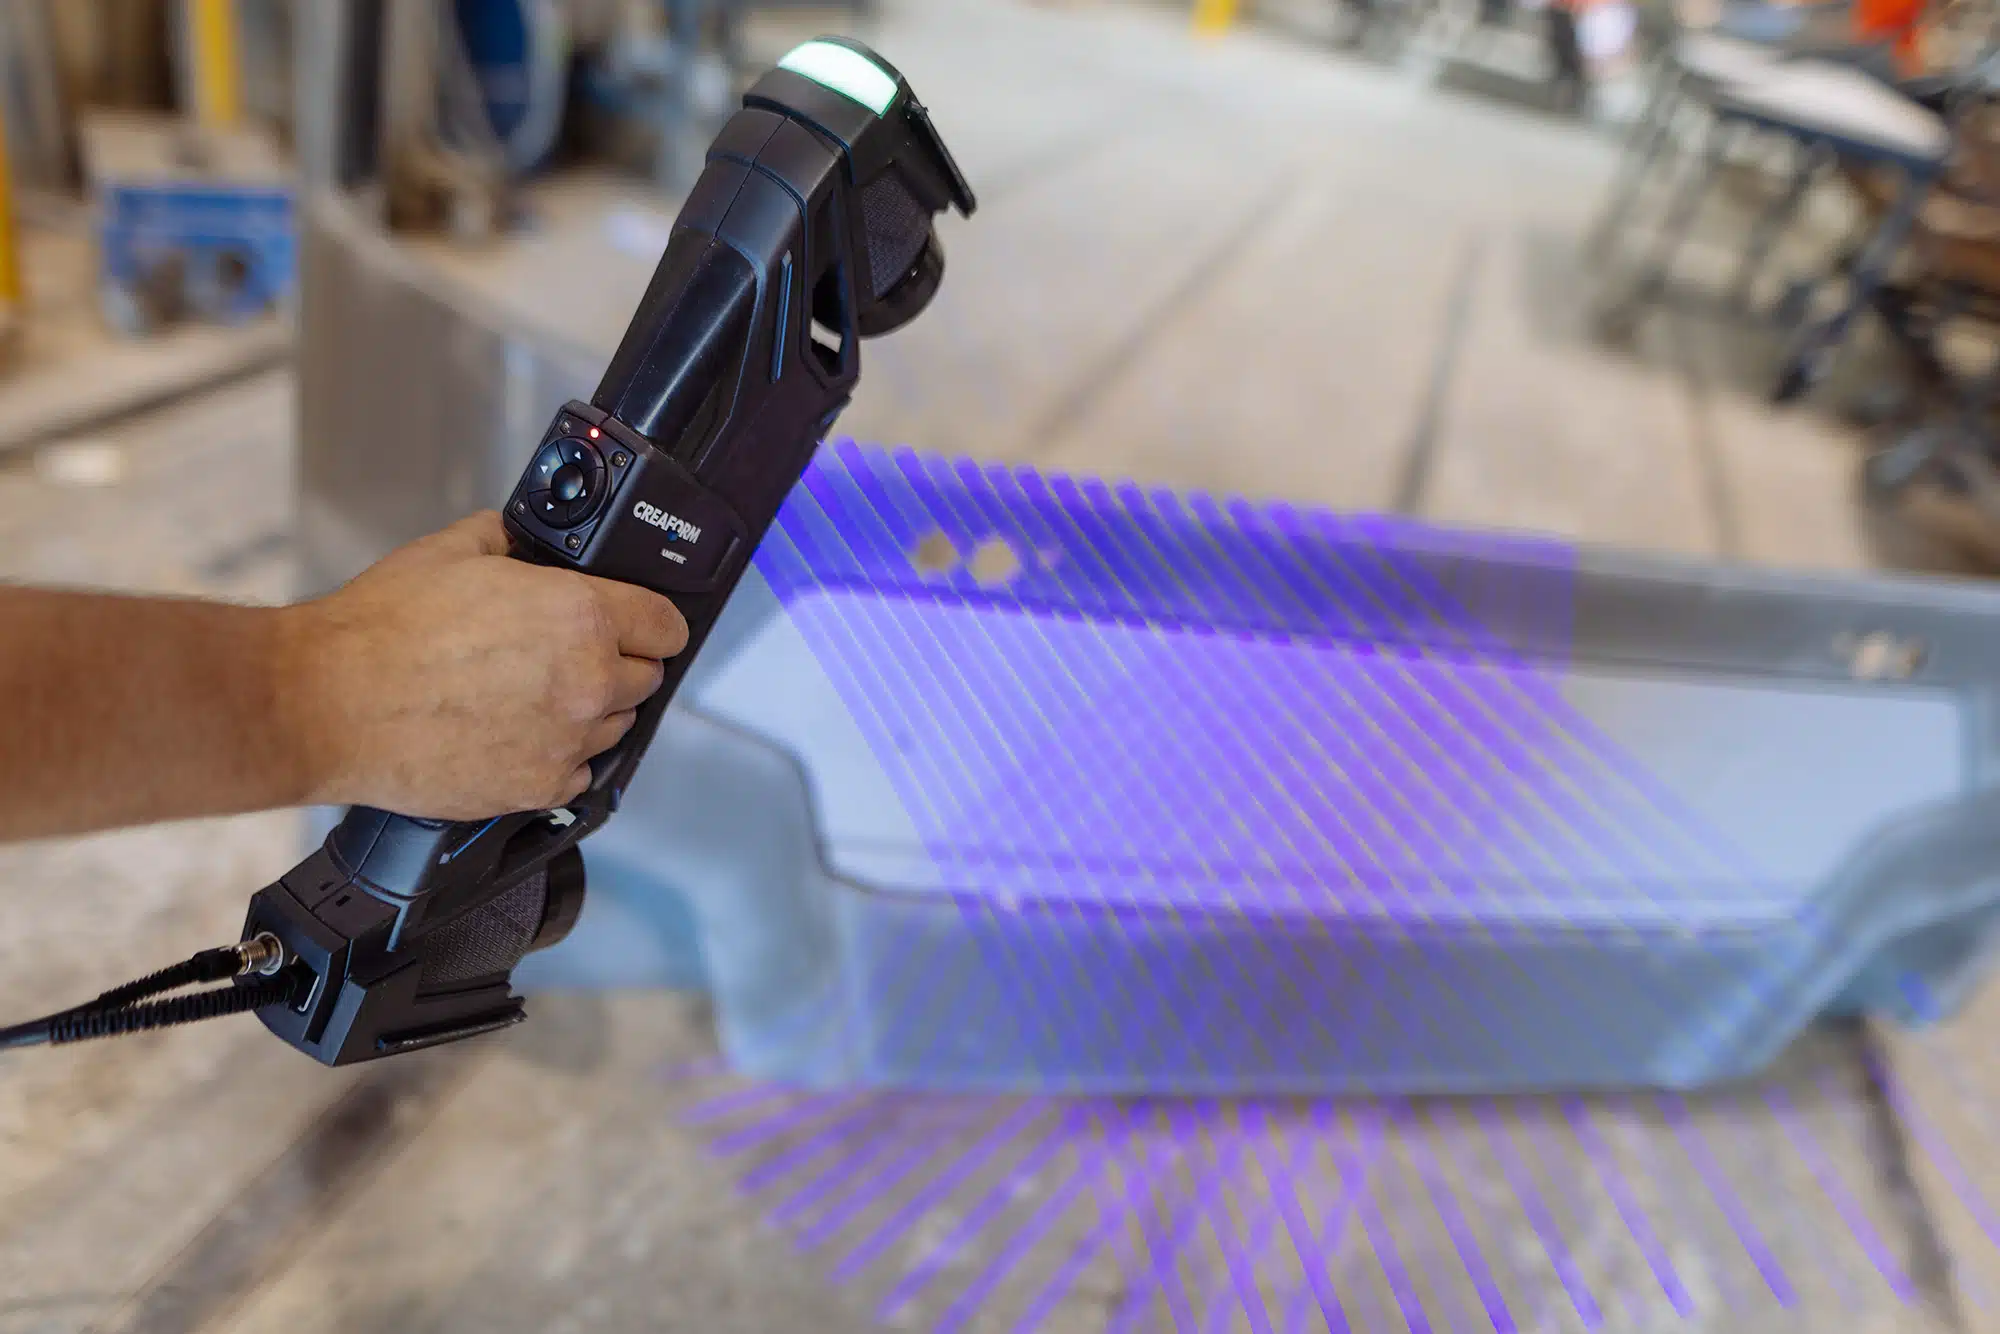
| |
| Accuracy(1) | 0.150 mm | 0.075 mm |
| (0.0059 in) | (0.0030 in) |
| Volumetric accuracy(2) (based on part size) | 0.200 mm + 0.030 mm/m | 0.100 mm + 0.015 mm/m |
| (0.0079 in + 0.00032 in/ft) | (0.0039 in + 0.00018 in/ft) |
| Measurement capabilities (at a working distance of 0.5 m (1.65 ft)) | Pin | 2.50 mm |
| (0.0984 in) |
| Hole | 3.50 mm |
| (0.1378 in) |
| Step | 0.04 mm |
| (0.0016 in) |
| Wall | 2.00 mm |
| (0.0787 in) |
| Measurement resolution | 0.04 mm |
| (0.0016 in) |
| Mesh resolution | 0.4 mm |
| (0.0157 in) |
| Measurement rate | 2 250 000 measurements/s |
| Light source | 38 blue laser lines |
| Laser class | 2M |
| (eye-safe) |
| Scanning area | 1 x 1 m |
| (3.3 x 3.3 ft) |
| Stand-off distance | 0.45 to 1.60 m | 0.30 to 2.50 m |
| (1.5 to 5.2 ft) | (1.0 to 8.2 ft) |
| Depth of field | 1.15 m | 2.20 m |
| (3.8 ft) | (7.2 ft) |
| Part size range (recommended) | 1–10 m | 1–15 m |
| (3.3–32.8 ft) | (3.3–49.2 ft) |
| Software | VXelements |
| Output formats | .dae, .fbx, .ma, .obj, .ply, .stl, .txt, .wrl, .x3d, .x3dz, .zpr, .3mf |
| Compatible software(4) | 3D Systems (Geomagic® Solutions), InnovMetric Software (PolyWorks), Metrologic Group (Metrolog X4), New River Kinematics (Spatial Analyzer), Verisurf, Dassault Systèmes (CATIA V5, SOLIDWORKS), PTC (Creo), Siemens (NX, Solid Edge), Autodesk (Inventor, PowerINSPECT) |
| Weight | 1.22 kg |
| (2.7 lb) |
| Dimensions (LxWxH) | 133 x 79 x 435 mm |
| (5.2 x 3.10 x 17.10 in) |
| Connection standard | 1 X USB 3.0 |
| Operating temperature range | 5-40 °C |
| (41-104 °F) |
| Operating humidity range (non-condensing) | 10-90% |
| Certifications | EC Compliance (Electromagnetic Compatibility Directive, Low Voltage Directive), compatible with rechargeable batteries (when applicable), IP50, WEEE |
| Patents | CA 2,600,926, US 7,912,673, CA 2,656,163, EP (FR, UK, DE) 1,877,726, AU 2006222458, US 8,032,327, JP 4,871,352, US 8,140,295, EP (FR, UK, DE) 2,278,271, EP (FR, UK, DE) 2,230,482, IN 266,573, US 7,487,063, CA 2,529,044, EP (FR, UK, DE) 3,102,908, US 10,271,039, JP 6,596,433, CA 2,938,104, KR 10-2424135 |
| | | |
| (1) HandySCAN MAX and HandySCAN MAX|Elite (ISO 17025 accredited): Based on VDI/VDE 2634 part 3 standard. Probing error performance is assessed with diameter measurements on traceable sphere artefacts. Results are obtained at stand-off distance of 0.6 m and 1.2 m (1.98 ft and 3.96 ft). |
| | | |
| (2) HandySCAN MAX and HandySCAN MAX|Elite (ISO 17025 accredited): Based on VDI/VDE 2634 part 3 standard. Sphere-spacing error is assessed with traceable length artefacts by measuring these at different locations and orientations within the working volume. Results are obtained at stand-off distance of 0.6 m and 1.2 m (1.98 ft and 3.96 ft) and using integrated photogrammetry with volumetric accuracy optimization. |
| | | |
| (3) The volumetric accuracy of the system when using a MaxSHOT 3D cannot be superior to the default accuracy of the chosen system and model |
| | | |
| (4) Also compatible with all major metrology, CAD, and computer graphic software through mesh and point cloud import. |


